Anaphora is a powerful tool for generating reports from your Elasticsearch data. In this guide, we'll walk through the basics of getting started with Anaphora and show you how to create your first report.
Prerequisites
Before we begin, make sure you have:
- Docker installed
- Access to Kibana (you can use the demo instance of Kibana at https://demo.elastic.co/)
Installation
Getting started with Anaphora is simple:
docker run --name=anaphora -p 3000:3000 --rm -d beshultd/anaphora
Then visit http://localhost:3000 and log in with:
- Username:
admin - Password:
admin
Creating Your First Report
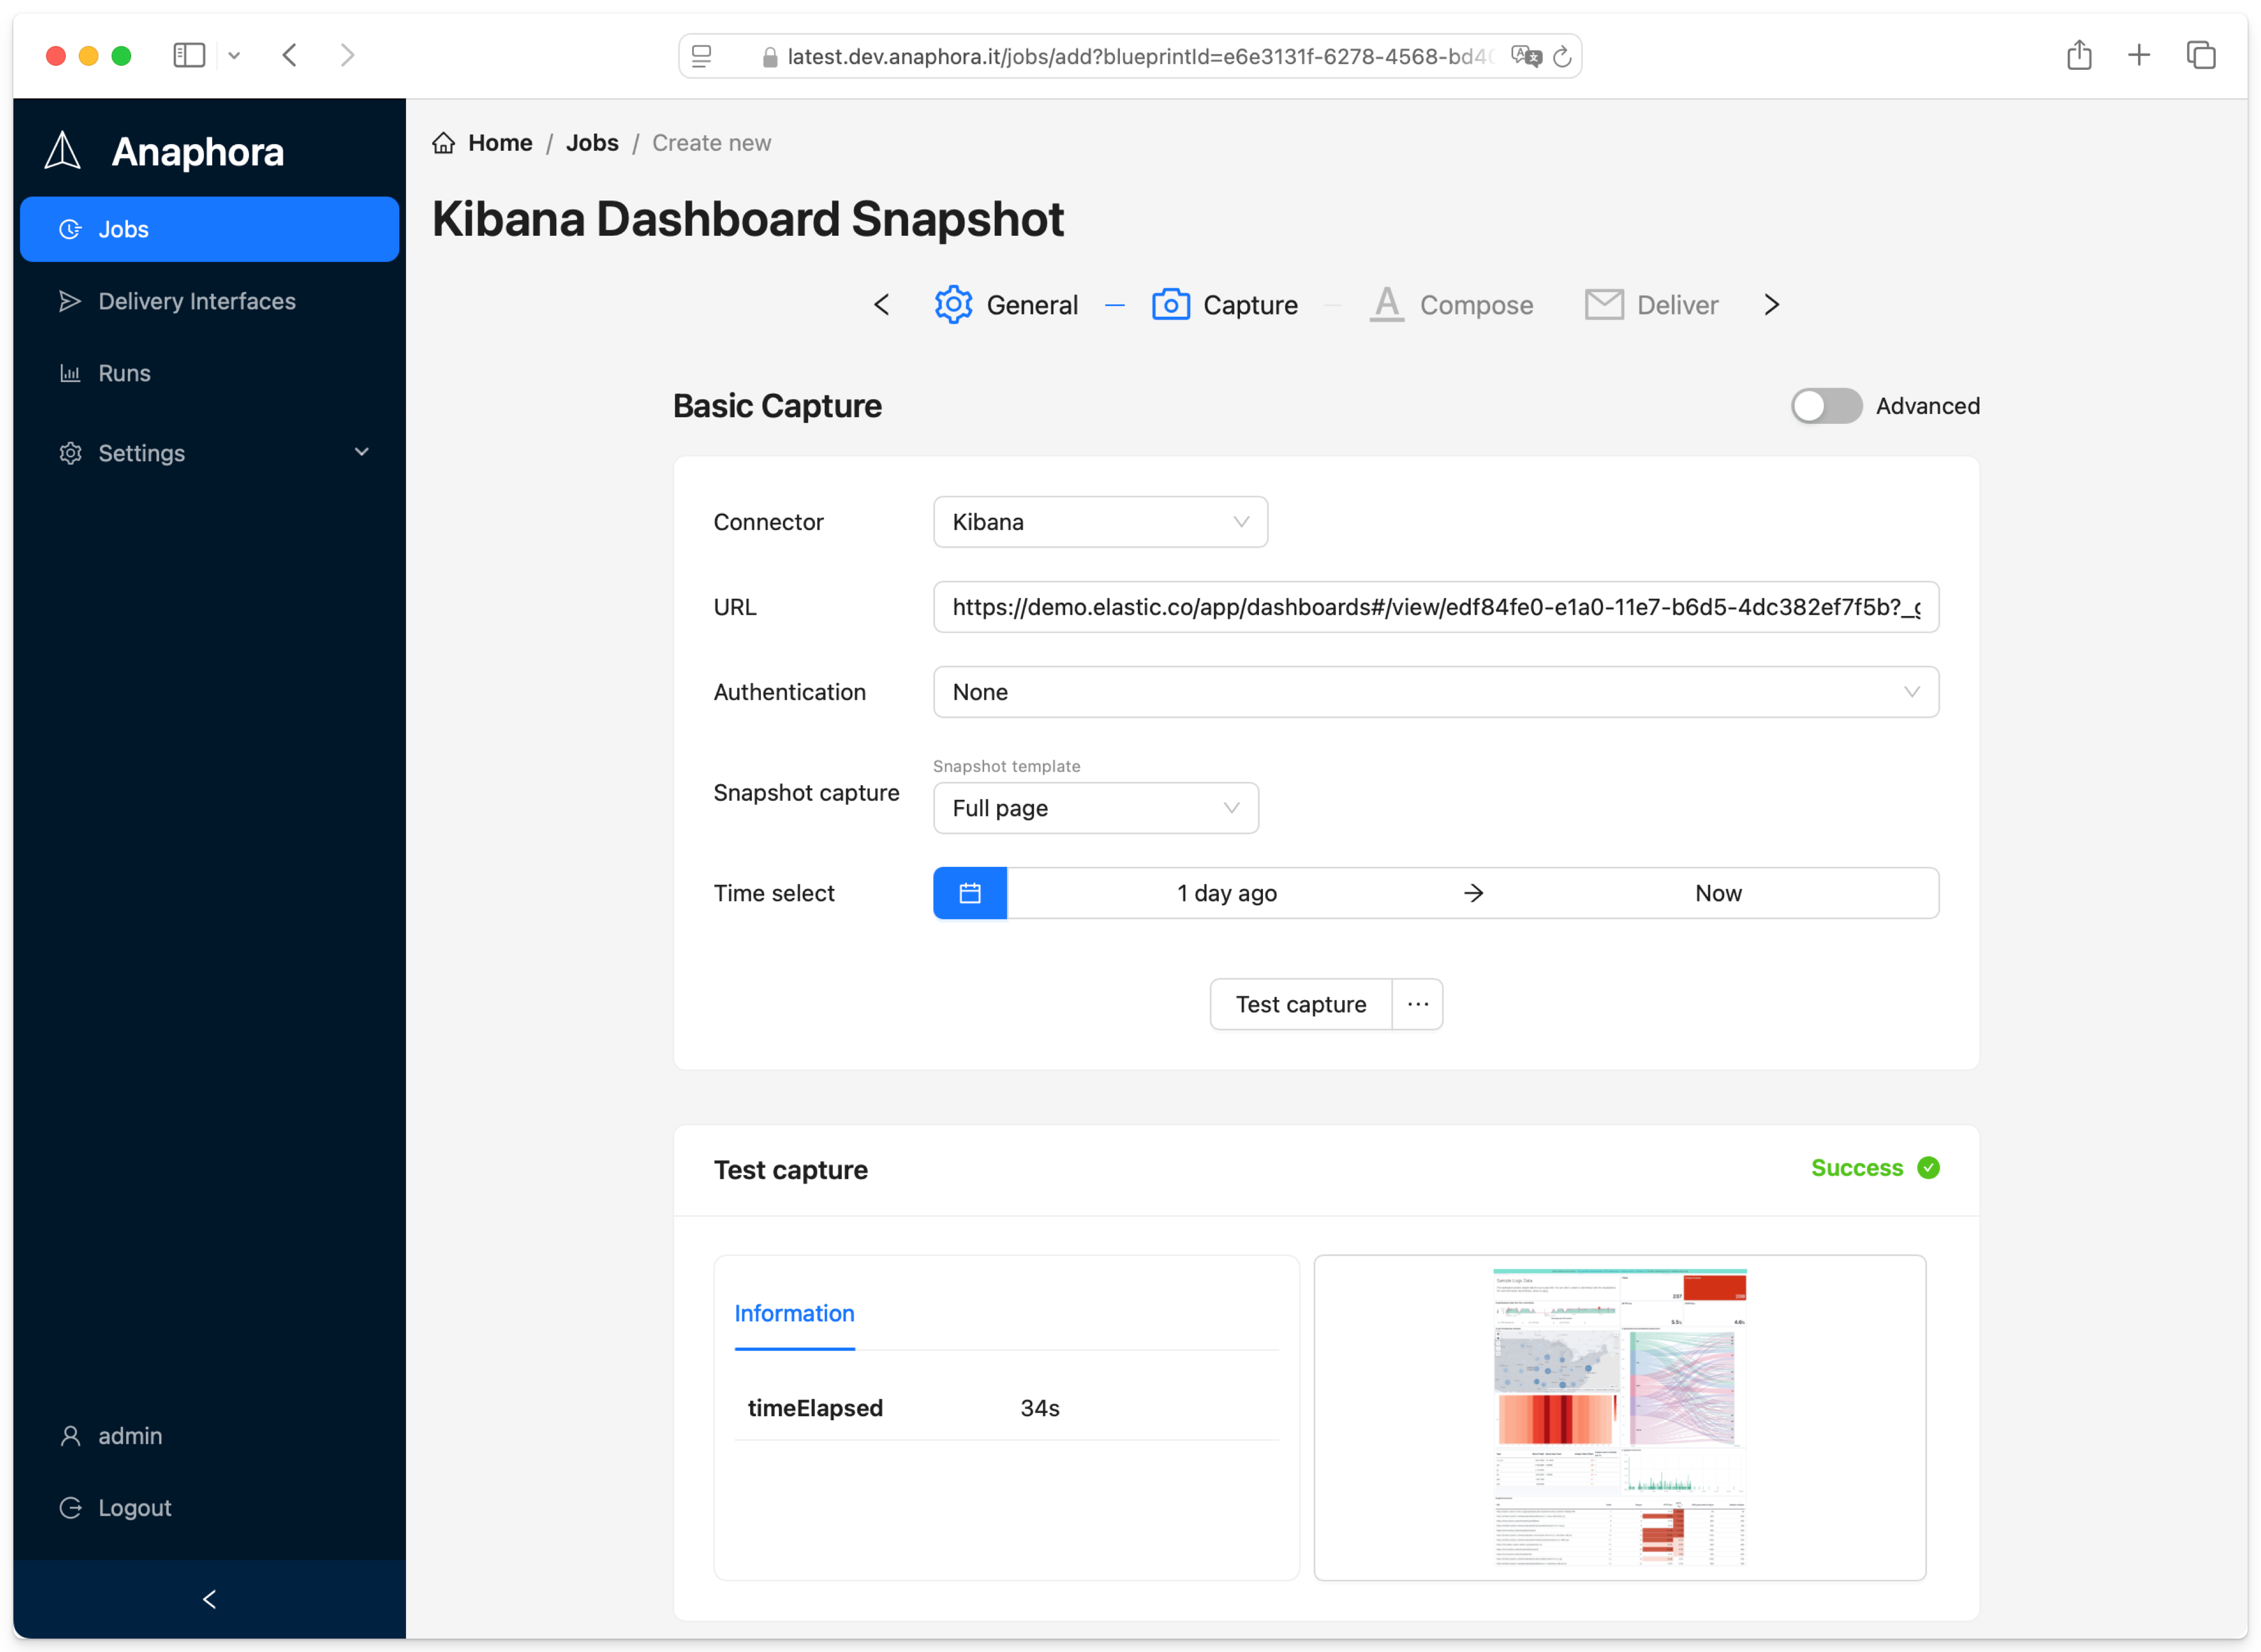
- Click "New Job" in the Anaphora dashboard
- Choose a job template or start with a plain one
- Select "Visualizations" as your snapshot capture type
- Click "Test Capture" to preview
- Proceed to the compose screen to customize your report
Next Steps
Go to composer and start creating your first report!
Here you can rows and columns to your report.

Pages can have custom backgrounds, like a logo or a large image.
Next, let's go to the deliver screen, where you can specify where to send your report.
Testing without a real delivery interface
By default a newly created Job will have assigned a dummy delivery interface. This is very useful for testing, and creating jobs right away without first going through configuring the details of a real delivery interface.
Creating a real delivery interface
Anaphora supports many delivery protocols, SMTP, S3, Webhook (i.e. for Mattermost chat), Slack, Mailgun, and more to come.

This time, let's select the SMTP interface, here is what to set up:

You can test your configuration straigth away using the included test feature

If your email was received, you can go back to the Job configuration and assign the new DI to the job.

Recap
In this guide, we covered:
- Quick installation using Docker with a single command
- Creating your first report by selecting visualization captures
- Using the composer to create a customized eport with rows, columns, and backgrounds
- Previewing the resulting PDF with a dummy delivery interface
- Setting up real delivery interfaces like SMTP, S3, Webhook, Slack, and Mailgun
- Configuring and testing an SMTP delivery interface
- Assigning delivery interfaces to your jobs
With these basics, you're ready to start creating and sharing professional reports from your Kibana dashboards.
